So you have either downloaded the textures I've included for this tutorial or you have your own and now you have blender open with your custom shape loaded via Avastar.

Step 1: In blender click on the left side Properties tool bar. Click on the Properties icon, then a dropdown box will appear and choose UV/Image Editor.

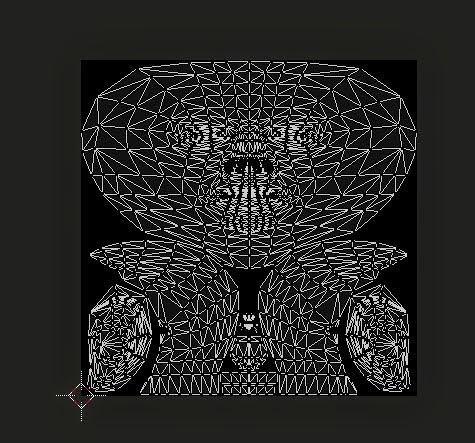
Step 2: The Uv/Image Editor will now take the place of your properties menu and will look something like the picture below. Now click on Image then Open Image. Go to the place where you downloaded the textures I provided or where you have your own stored. Click on the first image such as the face texture and click open. You will repeat these steps for the other two textures Upper Body and Lower body as well.


Step 4: While you are in Edit Mode on your avatars head click in the Untitled box of your UV Editor and choose the face texture that you uploaded. Click the Tab button on your keyboard and you will notice nothing changed. Your probably thinking what good did that do! So now go to your transform toolbar and under the subset categories choose Shading. Then select Texture Solid, and viola you will now see the texture appear on the head of your avatar. You always need to have the Texture Solid box checked in order to see any textures that you use on ANY pieces of mesh you create or items in the scene. Now go back and do the exact same steps for your Upper Body and Lower Body, except this time you do NOT need to click Texture Solid box as you already have it selected.


Now you are done and ready to start building awesome items for this avatar. I made my textures fully clothed but, if you are creating clothing you might want to find textures that are nude. I hope you enjoyed this tutorial and keep coming back each week to learn some cool tips and tricks of designing in virtual worlds.
Links:
Avatar Face Texture
Avatar Lower Body Texture
Avatar Upper Body Texture
Blender
Second Life
No comments:
Post a Comment